

Showing posts with label Rhythm. Show all posts
Showing posts with label Rhythm. Show all posts
Tuesday, April 2, 2013
3rd Grade -- Historical Figures
3rd graders just finished up their historical figure sculptures. They were assigned one of the following people: Louis Armstrong, Helen Keller, Jackie Robinson, or Amelia Earhart. They used white talc clay to sculpt their historical person. We focused on scoring, slipping, and smoothing to ensure that all pieces were attached. The students used modeling tools to create textures and details in the clay as well. Tempera paint was applied to the bisque fired clay. The 3rd graders created cardboard dioramas, which put their person in a scene that would have taken place. Here are some examples from all 3rd grade classes:


Monday, March 18, 2013
Kindergarten -- Pollock Paintings
Kindergarten students learned about Jackson Pollock and his painting technique. After setting up our paints and brushes in the room, the students began drip/splatter painting. They thought about how they were feeling at the time. Many students also related particular colors to their feelings.


Wednesday, February 27, 2013
KSe & KJ -- Digital Drip Paintings
Yesterday in art, Ms. Serio's and Mr. Jerkatis' classes learned about Jackson Pollock and his
technique of painting. We then created a class digital drip painting
via jacksonpollock.org.
In our next class, we will all make our own action paintings with tempera paint!
(KSe painting on top, KJ painting on bottom)


In our next class, we will all make our own action paintings with tempera paint!
(KSe painting on top, KJ painting on bottom)


Monday, February 25, 2013
Ms. Beljung's Class -- Digital Drip Painting
Today in art, Ms. Beljung's class learned about Jackson Pollock and his
technique of painting. We then created a class digital drip painting
via jacksonpollock.org.
In our next class, we will all make our own action paintings with tempera paint!

In our next class, we will all make our own action paintings with tempera paint!

Friday, February 22, 2013
Ms. Smith's Class -- Digital Drip Painting
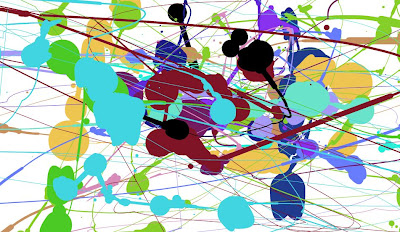
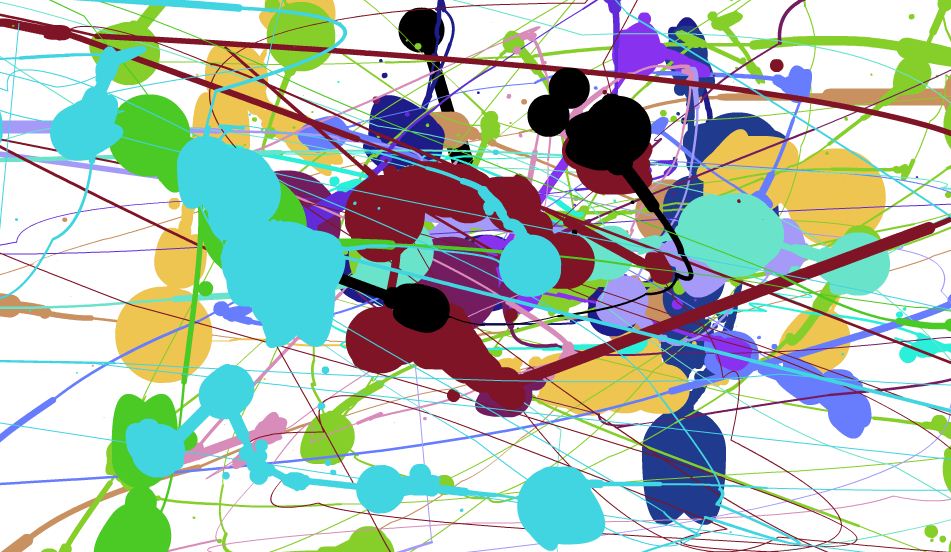
Today in art, Ms. Smith's class learned about Jackson Pollock and his technique of painting. We then created a class digital drip painting via jacksonpollock.org.
In our next class, we will all make our own action paintings with tempera paint!
In our next class, we will all make our own action paintings with tempera paint!
Monday, January 28, 2013
1st Grade -- Wildy & Wavy Paintings
Mr. Kaegi's 1st grade class created these mixed media works of art. We started out discussing the primary and secondary colors. We went into depth a little further and discussed how each of those colors have numerous values.
Hue = Color
Tint = Hue+ White
Tone = Hue + Gray
Shade = Hue + Black
The students chose one hue (blue for example) and took black and white to mix their different values. They created abstract paintings with as much value as possible. Once they were dry, the paintings were cut into 4 strips. The students then glued their strips in wavy formations onto consturction paper.


Friday, January 18, 2013
Kindergarten -- Stuart Davis Collages
 We learned about Stuart Davis and how he was an early American Modernist painter. He created proto-pop art paintings that were colorful and influenced by jazz music. The students noticed that he used geometric and organic shapes in many of his paintings. We then focused a little bit more on his painting "Ready-to-Wear" (1955).
"Throughout his lengthy career as one of the preeminent American Modernists, Stuart Davis looked to the sights and sounds of the United States for his subject matter. In this vibrant painting, Davis explored the American invention of ready-to-wear clothing, a term first employed in an 1895 Montgomery Ward catalog. The broad, flattened areas of red, white, black, and blue may represent leftover pieces of fabric, while the angular white shape in the upper-right corner suggests a pair of scissors. With its bright palette and energetic composition, the painting celebrates not only the vitality of the ready-to-wear clothing industry but also America itself."
Kindergarten students worked on black construction paper and cut our a variety of shapes from red, white, and blue construction paper. We made sure that we used organic and geometric. We also made sure that we were overlapping the shapes.
Here are some kindergarten examples below:

Monday, December 10, 2012
3rd Grade -- Tessellations
For this project we were linking art together with math to create M.C. Escher like tessellations. Tessellation is the process of creating a two-dimensional plane using the repetition of a
geometric shape with no overlaps or gaps. The students began with a 3" x 3" square. They created a line design on the left side with pencil. That piece was cut out and taped to the right side of the square. This process was repeated on the top and bottom of the square as well. The end result was a shape that could fit into itself from side-to-side and top-to-bottom. Third graders envisioned what their shaped looked like and then drew their creation into their shape. They used a color pattern to finish their work.


Friday, November 9, 2012
1st Grade Owls
Our first grade students started this project by using a pillow box template. They traced that template onto a colored piece of construction paper. From there, they painted a blank sheet a paper, with values that matched the construction paper color. We discussed the meaning up tints and shades, and also demonstrated different ways we could make texture in our paintings. Once the paintings were dry, the students used spools to trace circles onto their painting. The students cut those circles out and used them as the owl feathers. The students created other key features that the owl would need (wings, beak, feet) and assembled them with glue. Come check out the owls in person. They are located in the glass display case in the lobby.


Tuesday, November 6, 2012
4th Grade One Point Perspective
Perspective in the graphic arts, such as drawing, is an approximate representation, on a flat surface (such as paper), of an image as it is seen by the eye. The two most characteristic features of perspective are that objects are drawn:
* Smaller as their distance from the observer increases
* Foreshortened: the size of an object's dimensions along the line of sight are relatively shorter than dimensions across the line of sight
 After the 4th grade students learned about perspective, and more specifically one point perspective, we began drawing on 12 x 18 paper. The students made a dot to represent the vanishing point. Streets, sidewalks, buildings, cars, etc all lined up according to where their vanishing point was. This allowed the city view to start out bigger and become smaller and you look further down the street. Students had many creative ideas to develop their buildings.

* Smaller as their distance from the observer increases
* Foreshortened: the size of an object's dimensions along the line of sight are relatively shorter than dimensions across the line of sight


3rd Grade Paper Mosaics
A mosaic is the art of creating images with an assemblage of small pieces of colored glass, stone, or other materials. It may be a technique of decorative art, an aspect of interior decoration, or of cultural and spiritual significance as in a cathedral. Small pieces, normally roughly quadratic, of stone or glass of different colors are used to create a pattern or picture. As a class we looked observed a PowerPoint with many ancient mosaic examples. From there, we looked at more modern examples such as space invaders created by street artist "Invader". The students planned an image in their sketchbooks at first, then followed out their plan by creating a paper mosaic. Most created small square tiles with the use of a pencil and ruler. The paper tiles were attached with white glue.


2nd Grade Matisse Unit Part II
For our second project based on Matisse, our students focused more on Matisse's "Beasts of the Sea." We started out by choosing a colored piece of construction paper, which was the split in half. The students then created many geometric and organic shapes to collage onto their background pieces. We discussed overlapping, contrast, curvy lines, straight lines, and movement as well. Once their two background pieces were completed, we attached them to a bigger sheet of paper to create a border for their artwork.


Wednesday, October 31, 2012
2nd Grade -- Día de los Muertos Sugar Skulls
"Day of the Dead is a Mexican holiday celebrated throughout Mexico and around the
world in other cultures. The holiday focuses on gatherings of family and
friends to pray for and remember friends and family members who have
died. It is particularly celebrated in Mexico, where it is a national
holiday, and all banks are closed. The celebration takes place on
November 1, in connection with the Catholic holidays of All Saints' Day and All Souls' Day (November 2). Traditions connected with the
holiday include building private altars honoring the deceased using sugar skulls, marigolds, and the favorite foods and beverages of the
departed and visiting graves with these as gifts. They also leave
possessions of the deceased."
Today, Ms. Smith's and Ms. Mariani's classes learned about Day of the Dead. We took a closer look at the sugar skulls used in the celebration. As we examined the skulls, we noticed that they all had similar characteristics. The skulls used many organic and geometric shapes, floral designs, symmetry, lines, and color. After looking at many examples, the students began drawing out their own sugar skull with the use of oil pastels. They choose what shapes to create, what colors to use, and whether or not to have their skull symmetrical or asymmetrical. Students were encouraged to fill in their color so it was nice and bold.
Here are some photos from today's classes:


Thursday, October 18, 2012
5th Grade Color Wheels
5th graders learned about color theory in this project. We learned exactly how to make the twelve colors on the color wheel. We reviewed how to make different values of each color as well. The students designed a color wheel with a radial design in their sketchbooks. We used a pie tin to trace a circle onto a piece of white paper. We used 90 degree angles to find the center of the circle. From there, we used protractors to measure out 30 degree angles to form twelve equal sections. The students then drew their radial design onto their circle. In their design, the students were to have designated areas that included the hue, tint, tone, and shade. Students received red, yellow, blue, white, and black paint to create all of their hues and values for this project. Once the color wheels were completely painted, the students went back with a permanent marker to tighten up any loose edges, and also to show their radial design more clearly.


Friday, October 12, 2012
Kindergarten Picasso Heads
Today in our kindergarten classes we read Picasso (Getting to Know the World's Greatest Artists). We learned that Picasso was very inventive and changed his painting style numerous times throughout his life. We learned that he went through certain periods, such as the Blue and Rose period. Cubism was another style of painting the class observed. After we read our book, we visited the website PicassoHead. Each student helped add a feature or change a color of a feature to create their classroom Picasso head. Notice how the eyes, nose, mouth, and ears are not exactly in the correct spots. Next week the kindergarten students will begin their own Picasso style self-portraits!


Thursday, October 4, 2012
3rd Grade Haring Figures
3rd Grade students learned about Keith Haring and the way he create his artwork. We observed the simplified figures that he included his artwork. The students learned that he used bold, black lines around his objects and also used rhythmic lines to express movement, feeling, or noise. The students started off by sketching out a composition that including Keith Haring like elements. After that the students drew their artwork onto 12 x 18 white drawing paper. From there they used a variety of paint to fill in their artwork. Their goal was to completely fill in all areas with the paint and to also paint as neatly as possible. Once the painting was dry, the students used permanent makers to create the bold, black lines around their objects. They also used the permanent markers for any lines that were orginally drawn in. Some students even created a spotted background to show texture like Keith Haring would. This is always a lot of fun for the students because it is so easy going and simple. Great job 3rd graders.


Friday, September 28, 2012
1st Grade Kandinsky Color Studies
Students learned about Wassily Kandinsky and the type of art he created throughout his life. We observed his color studies. We folded our 12 x 18 white drawing paper into eight equal sections. From there we used oil pastels to create many circles. Students used the oil pastels to blend and create new colors as well.


Subscribe to:
Posts (Atom)